On-body photo retouching – This is what matters!
Garments are often photographed worn on the body for product photos. This usually means that they are worn by a photo model (on-body) or styled on a mannequin (on-mannequin) and what makes on-body photo retouching necessary.
With both variants, image retouching is essential for a perfect product presentation, high-quality images and a uniform visual language. Here, two fundamental areas interlock: product retouching and, in on-body photography, also model retouching (or beauty retouching). Both partly contain the same, but also different retouching techniques and only their combination ensures a perfect end result.
Let’s take a closer look at what on-body photo retouching is all about in both areas.
On-body product retouching in on-body photo retouching
Even if the garments are different (e.g. trousers, shirts, dresses, shoes), the basic retouching process is pretty similar for all of them. In general, it includes: clean up and repair, reduce creases, detail work, and symmetry and shape. A frequently required extra in on-mannequin photography is also the so-called ghost model technique.
Clean Up & Repair
From dust, stains, fingerprints, and scratches to loose threads, untidy stitching and laces, up to visible pins, hangers, wires. Cleaning up and repairing involves removing such unwanted and distracting details. But also the touch up of smaller areas of the product. For example, if the removal of props creates “gaps” at the product because these areas were previously obscured.
Reduce Creases
Creases and wrinkles in the product can hardly be avoided, not even by styling and ironing. During retouching, these are smoothed out and removed. This allows the focus to be placed on the styling and presentation of the product, as these unwanted details can be removed in post-processing.
Detail work
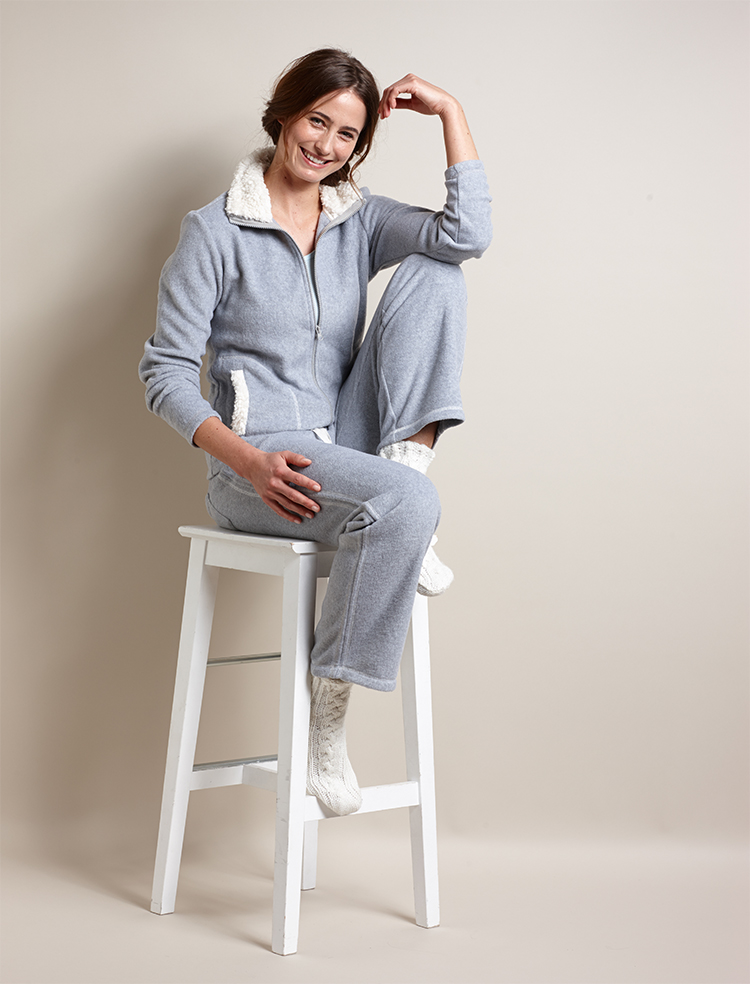
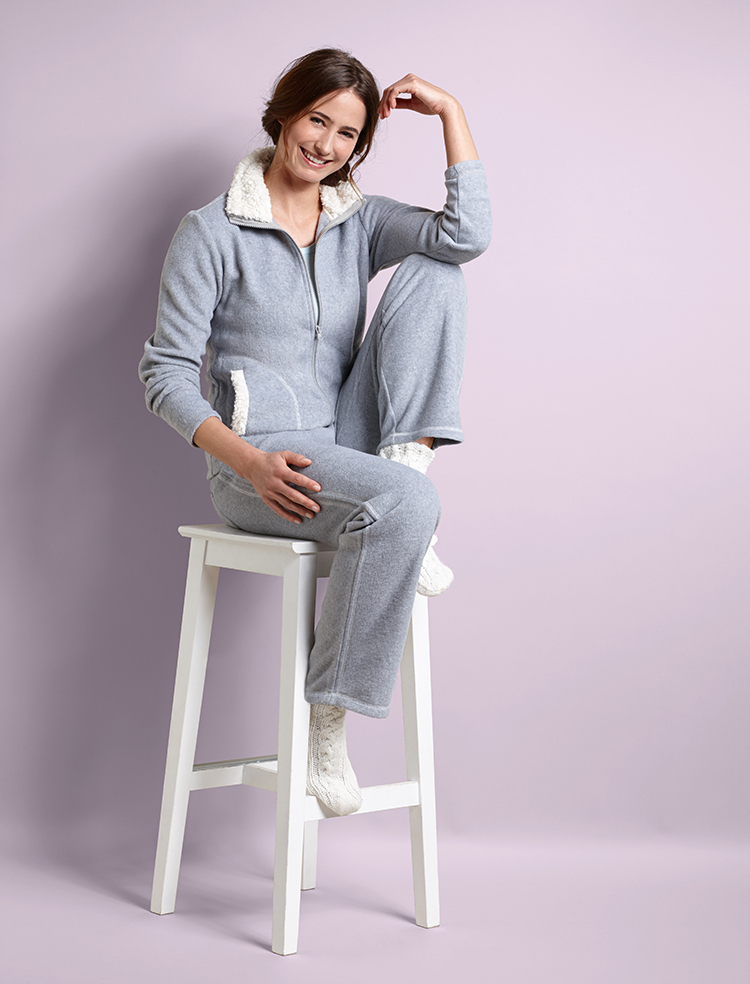
The aim is to improve the fit and the overall appearance of the garment on-body. This includes removing props (hangers, clips, stands, etc.) and recreating previously obscured details. The removal of distracting elements such as visible contours and outlines from, for example, holders, underwear, inside pockets or nipples. As well as smoothing out bumpy edges. Which brings us straight to the next step.
Symmetry & Shape
Most clothes initially look asymmetrical when photographed, for example, the length of the sleeves are not identical on both sides. And the shape is also often uneven, with creases, folds and dents.
In order to achieve symmetry and a perfect shape and thus to create an appealing imagery, retouching is inevitable and one of the most important steps in post-processing, especially with on-mannequin photos. The left and the right side of the garment are aligned with one another. This includes adjusting the following details: height of shoulders, armpits, sleeves, hems, waistband, crotch, knees, etc. The width of sleeves and pant legs. As well as the gap between sleeves, pant legs and torso. For a perfect shape, bumps and creases on the outer edges are smoothed out.
Ghost Model for on-body or rather on-mannequin
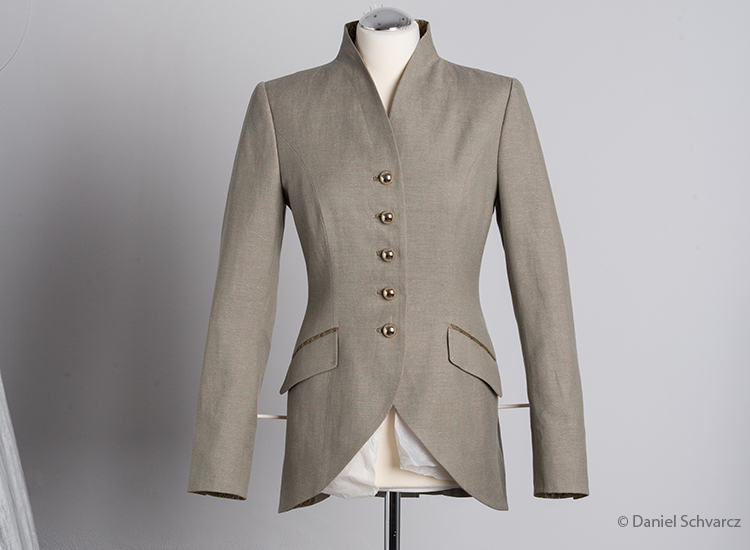
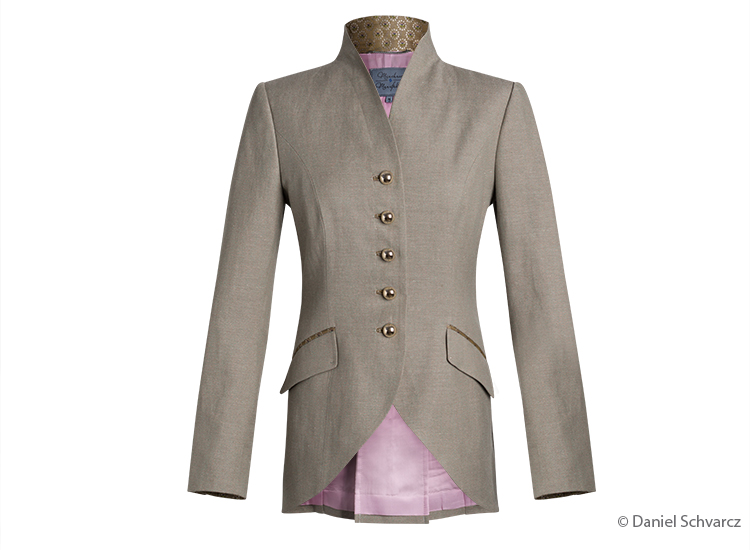
The Ghost model technique is a very effective method of displaying garments (and more) without the distraction of a mannequin or holder, while showing the fit as worn with all details. The garments are styled and photographed on a mannequin. Post-processing then combines several photos and thus removes the mannequin. The mannequin-free image shows both the outside and inside of the product in an optimal fit and with details that would otherwise be covered.
(Photo) Model retouching in on-body photo retouching
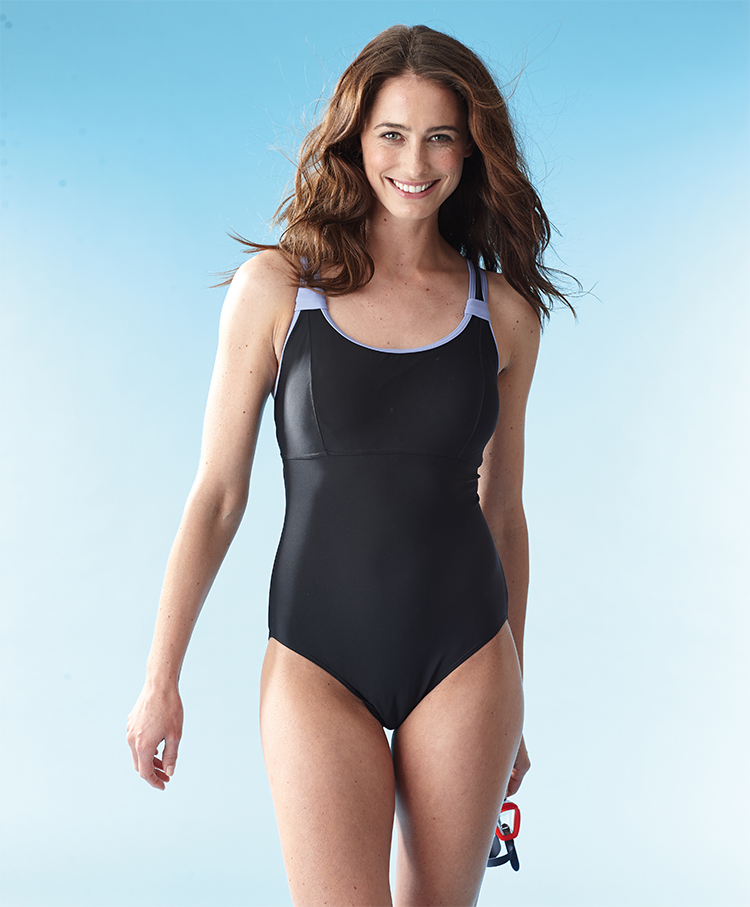
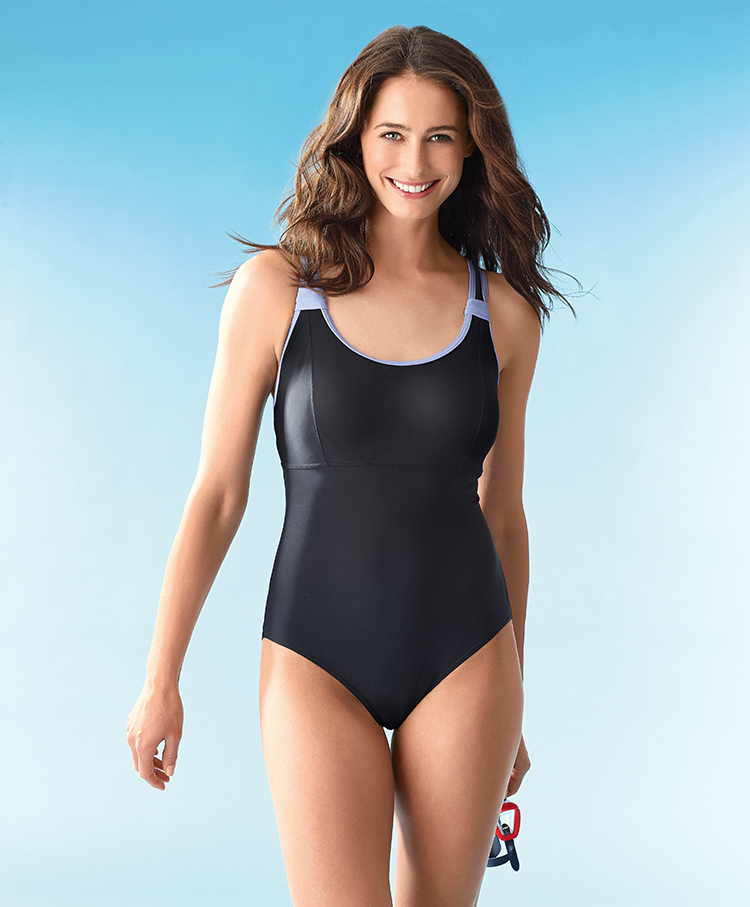
Garments and products that are presented on a photo model basically require the same retouching steps as on a mannequin. In addition, the models themselves also require retouching, generally referred to as skin or beauty retouching. Model retouching is a sensitive issue. What and how much is retouched is, of course, very dependent on the brand and its general aesthetics. A good rule of thumb: less is more and the more natural the better.
Skin & Beauty Retouching
In general, we recommend aiming for a natural skin/beauty retouching for product pictures with models. Which basically means only to retouch temporary characteristics, while keeping permanent ones.
Temporary characteristics include, for example, blemished skin, goosebumps, scratches, eye bags, redness, irregular tans, flying hair or uneven make-up. Their retouching does not mean a fundamental change to the model’s appearance. Also minor cosmetic changes such as whitening eyes and teeth, removing fine lines or a few (!) prominent moles, unless exaggerated, are usually compatible with a natural overall impression.
Retouching permanent characteristics should be carefully considered. These include freckles, birthmarks, scars and wrinkles, as well as the shape of the face and body. Classic skin/beauty retouching usually removes any irregularities and blemishes, the skin is softened allover and in some cases even the face and body shape is changed. These fundamental changes easily result in a photo that looks fake and unnatural, which only distracts from the actual image.
Cropping
An often overlooked aspect of model product images is the question of whether and, if so, how the images should be cropped. Usually the model’s head is cut off (completely or partially). On the one hand, a model’s face helps sell the product. On the other hand, cutting away the head affects the focus of the image as a face inevitably attracts attention. Cropping also affects the amount of retouching, as no face retouching is required.
Colour correction
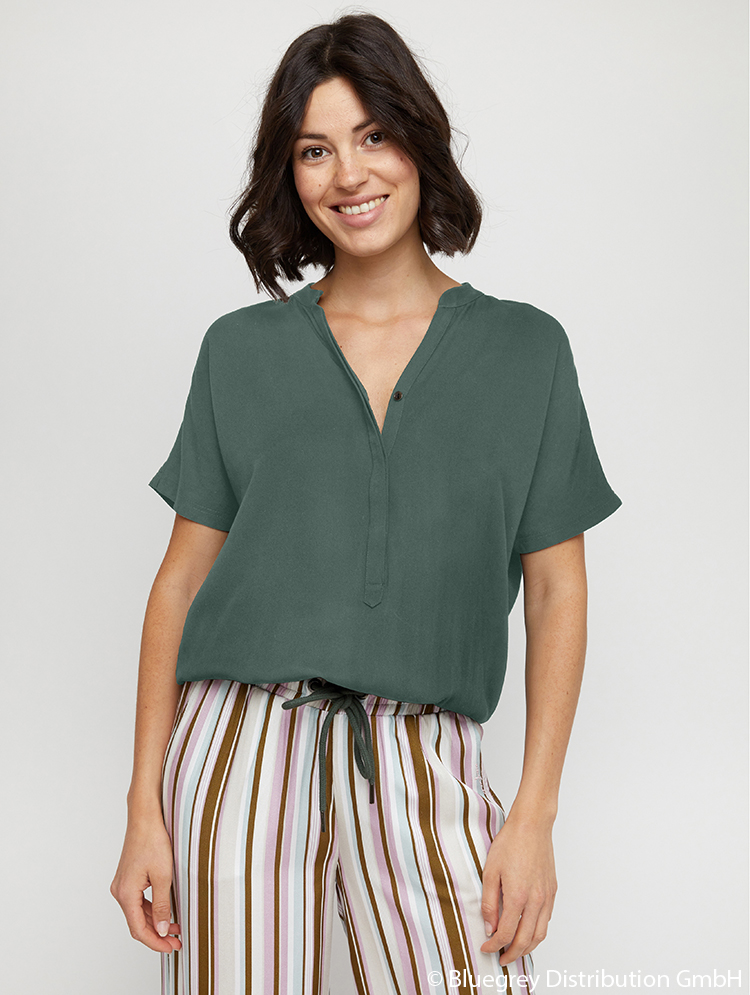
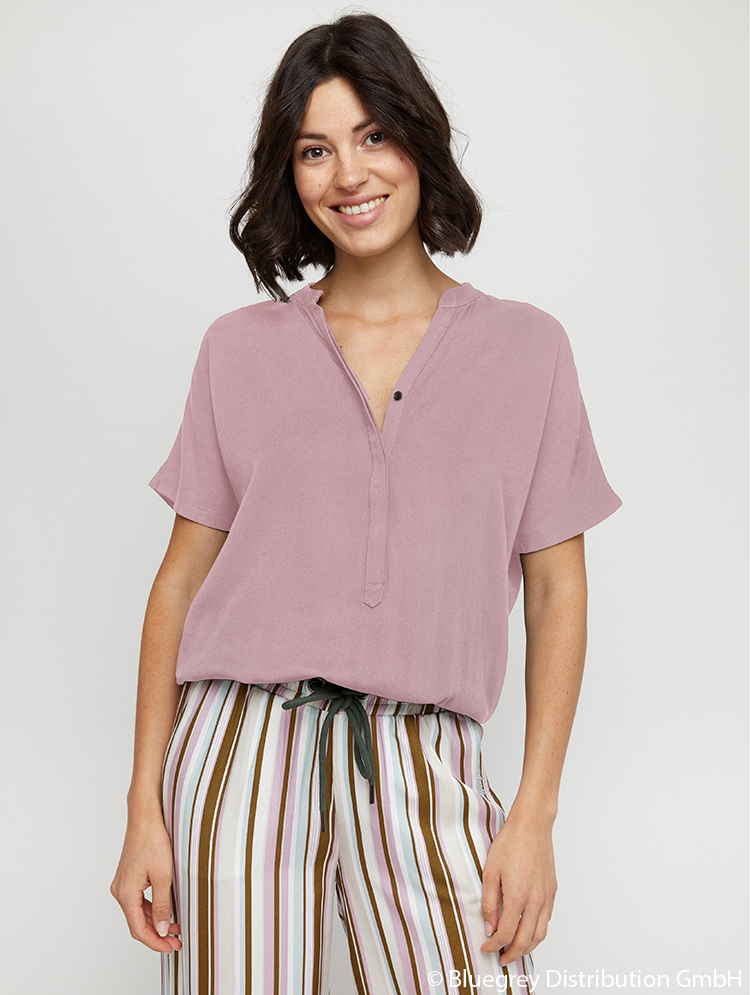
An accurate colour representation and colour consistency across all images is particularly important for product photos; for both the product and the model. That is why colour correction is one of the most important steps in image editing, along with retouching. Colour correction includes, among others: Optimise, adjust and correct brightness, contrast, saturation and colour balance. Remove colour casts and matching colours across images. As well as recolouring using colour masks.
Background removal, not only for on-body photo retouching
In addition to retouching the product and model, removing the original background is one of the most important and most common retouching tasks, especially when it comes to product retouching. Removing the background is not only common for stand-alone product pictures, but also for products that are photographed on-body or on-mannequin. High-quality clippings and alpha masking ensure that every detail is perfectly cut-out.
On-body or on-mannequin photo retouching – We put your products in the spotlight!
Our services include: clipping, alpha masking, masking, composing, ghost model, image retouching, colour correction, layout design, CGI for e-commerce, and more. For more information, samples and detailed prices download our e-commerce & product images portfolio.
- 2023
- January (1)
- 2022
- December (2)
- November (1)
- October (2)
- September (2)
- August (1)
- July (1)
- June (1)
- May (1)
- April (1)
- March (1)
- February (1)
- January (3)
- 2021
- December (2)
- November (1)
- October (3)
- September (2)
- August (1)
- July (3)
- June (1)
- May (2)
- April (1)
- March (1)
- February (2)
- January (4)
- 2020
- December (2)
- November (3)
- October (4)
- September (1)
- August (2)
- July (1)
- June (2)
- May (3)
- April (3)
- March (3)
- February (4)
- January (4)
- 2019
- December (1)
- November (2)
- October (5)
- September (1)
- August (3)
- July (2)
- June (2)
- May (3)
- April (2)
- March (3)
- February (2)
- January (4)
- 2018
- December (2)
- November (2)
- October (3)
- September (3)
- August (2)
- July (2)
- June (2)
- May (1)
- April (1)
- March (2)
- February (3)
- January (2)
- 2017
- December (2)
- November (2)
- October (1)
- September (1)
- August (1)
- July (1)
- June (1)
- May (1)
- April (1)
- March (1)
- February (1)
