The art of Food Photography
Food photography is an art and a challenge. It includes photographing individual foods, complete meals, the preparation, cooking and baking, and (almost) everything surrounding food. Product manufacturers, restaurants, magazines … food photos are needed everywhere and this photography area is booming.
We take a look at some important basics for yummy pictures.
Perspective and camera angle
The choice of perspective has a major impact on image effect and quality. The perfect perspective does not exist in (food) photography. It always depends on the food or the dish, the details, the style and the overall theme. What matters is that the selected perspective or camera angle highlights the best features of the subject. Every angle emphasises different details.
The following three perspectives or camera angles are often used in food photography.
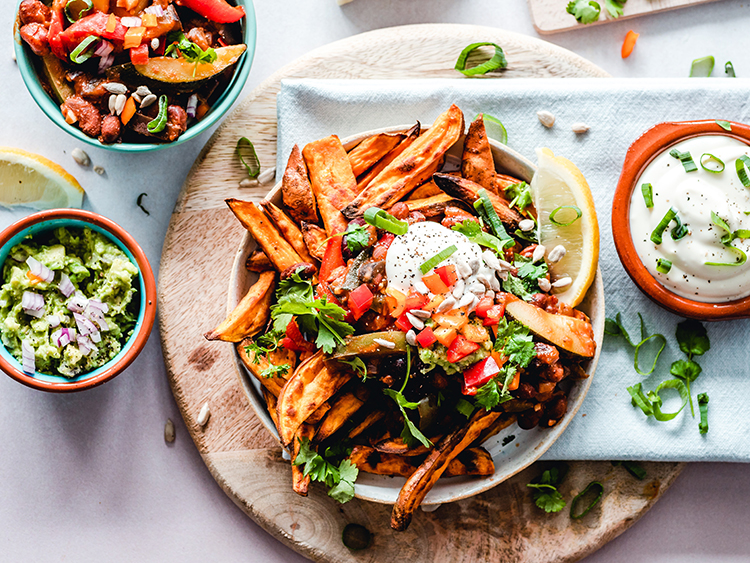
The overhead angle
This perspective, the top view, is particularly widespread in social media. The camera is located directly above the subject and points downwards at a 90-degree angle. Thus, only the top of the subject is visible in the photo, eliminating the depth effect. This makes the top view ideal for flat foods such as soups and covered cakes or also sliced foods. The perspective emphasizes details, shapes and textures of the food. At the same time, this angle is well suited to integrate various elements in the image and to show decorative surfaces. For example, a table setting, the arrangement of a dish or colour contrasts.
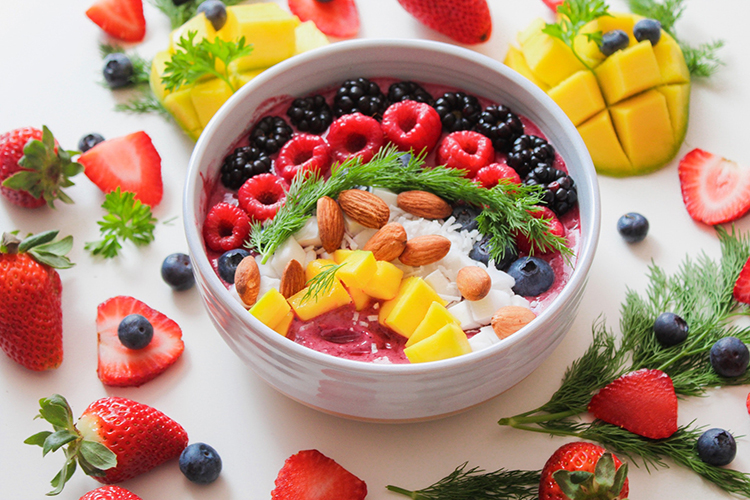
The 3/4-angle from above
The photo is taken from above at an angle of 45 degree. This perspective shows both the front and the top as well as the sides. Only the back is not visible. It is suitable for almost every food and dish. Depending on the arrangement of the dish and the entire image, the angle for the shot is usually somewhere between 30 and 60 degrees. For example, if the subject is Dim Sum in a deep, decorative bowl, a slightly higher angle allows a deeper view into the bowl. At the same time, this perspective is ideal for the use of depth of field and blurring. Overall, this camera angle is very versatile and is therefore often used in commercial food photography.
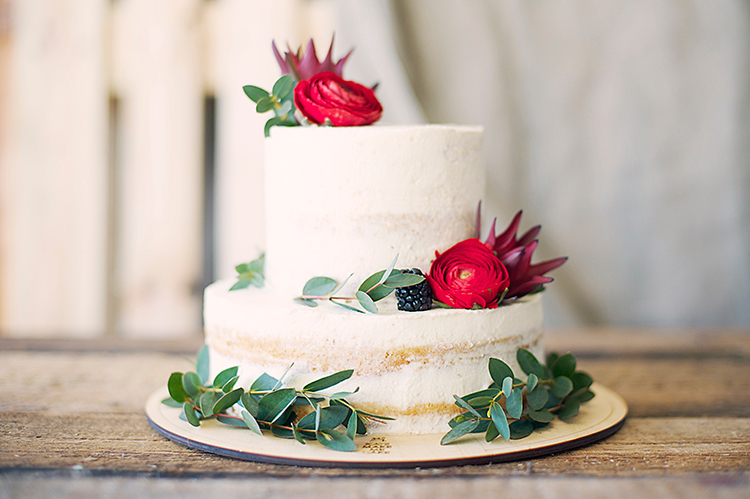
The straight angle
This frontal shot shows directly the front of the subject. An ideal perspective to emphasize high and layered foods. For example, a hamburger, a layered tart or also liquids in transparent containers. Since only one side of the subject is visible, it is more difficult to add more depth to the picture. The angle is therefore often slightly raised The skillful use of blur in the background and depth of field gives pictures with this perspective more depth.
In addition to perspective, there are several other aspects to consider in food photography.
Light source
Optimal is soft, diffused light from a natural light source, for example, daylight that falls through a window. Indirect lighting avoids hard shadows and light contrasts. Diffusers scatter hard and direct light. Reflectors light up dark areas.
Prepare the food
Basically, raw foods are easier to photograph than prepared foods. Some foods change over time. Some look fresh and appetising longer than others. Fresh salad, for example, withers quickly. The gloss of a cake pour, on the other hand, comes out after cooling down. All this must be taken into account for the preparation. The perfect photo is often created with the help of styling tricks and dummies.
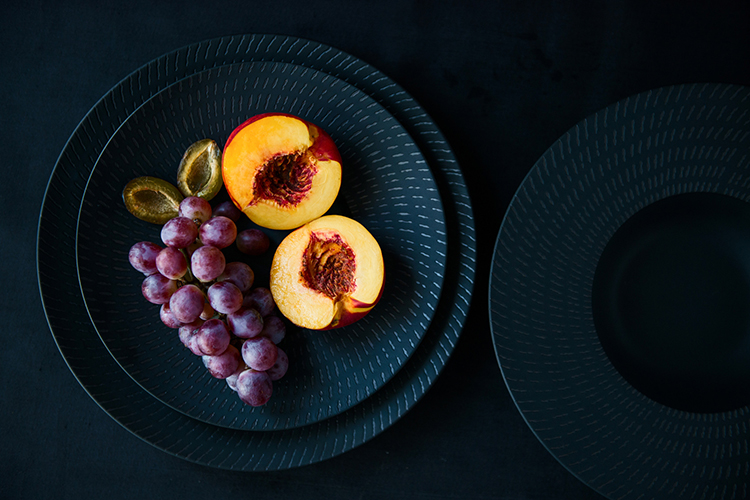
The trappings – Props and accessories
They complete the image composition. Various backgrounds and surfaces, tableware, textiles, cooking and baking equipment … everything can be used. Also the raw ingredients such as leaves, stems, flour etc. are perfect accessories. The choice of shapes, colors and materials has a huge impact on the final result. It is important that everything fits together and nothing steals the food the show. Tip: If there is enough space on the tableware and the picture is not overloaded, the arrangement appears of a higher quality.
Telling stories
From the various ingredients to the individual preparation steps to the finished dish. Cut off, bitten off, with a few crumbs on the side. Captured in images, the entire creation process and more creates a vivid story.
Final touch through post-processing
Correct exposure, white balance and colours. Remove small or big blemishes. Add steam, drops of water and shine. Image editing and retouching can all that and much more. High-quality post-processing gives food photography the final touch. For images that look good enough to sink your teeth into.
- 2023
- January (1)
- 2022
- December (2)
- November (1)
- October (2)
- September (2)
- August (1)
- July (1)
- June (1)
- May (1)
- April (1)
- March (1)
- February (1)
- January (3)
- 2021
- December (2)
- November (1)
- October (3)
- September (2)
- August (1)
- July (3)
- June (1)
- May (2)
- April (1)
- March (1)
- February (2)
- January (4)
- 2020
- December (2)
- November (3)
- October (4)
- September (1)
- August (2)
- July (1)
- June (2)
- May (3)
- April (3)
- March (3)
- February (4)
- January (4)
- 2019
- December (1)
- November (2)
- October (5)
- September (1)
- August (3)
- July (2)
- June (2)
- May (3)
- April (2)
- March (3)
- February (2)
- January (4)
- 2018
- December (2)
- November (2)
- October (3)
- September (3)
- August (2)
- July (2)
- June (2)
- May (1)
- April (1)
- March (2)
- February (3)
- January (2)
- 2017
- December (2)
- November (2)
- October (1)
- September (1)
- August (1)
- July (1)
- June (1)
- May (1)
- April (1)
- March (1)
- February (1)